How to Build a Tool Buying Spreadsheet for Prices, Accessories, and Repairs
What's inside
As an Amazon Associate I earn from qualifying purchases. This post may contain affiliate links at no extra cost to you.
A tool price is rarely the price you pay at checkout. A drill may need batteries, a charger, bits, and a replacement chuck. A saw may need blades, a stand, dust collection, or a repair that costs nearly as much as a new machine. A useful buying spreadsheet tracks the complete cost of owning and using the tool, not just the shelf price.
As an Amazon Associate we earn from qualifying purchases at no extra cost to you.


Start With the Job, Not the Brand
Before entering products, define what the tool must do. Record the material, cut or fastening size, expected frequency of use, and whether you already own compatible batteries. A homeowner making six shelves has different requirements from a contractor using the tool every day.
Use one row for each specific tool or kit. Avoid rows labeled only “drill” or “circular saw.” A bare-tool drill, a kit with two batteries, and a corded model are different purchases with different ownership costs.
Useful starting fields include:
- Tool and kit description
- Brand and product line
- Retail price and current sale price
- Included batteries, charger, blades, bits, or accessories
- Required accessories not included
- Warranty length and retailer return period
- Expected annual use
- Repair cost and replacement cost
Build Price Columns That Show the Real Cost
Separate the advertised price from the usable price. “Total ready-to-work cost” should include the tool, tax if you are comparing final checkout totals, shipping, batteries, charger, and the accessories needed for your first job.
A practical spreadsheet formula is:
Ready-to-work cost = tool price + battery cost + charger cost + required accessory cost + shipping
Enter zero for items you already own, but mark them as existing equipment rather than pretending they are free. This matters when comparing battery platforms. A bare cordless tool may be the best bargain if you already own three compatible batteries, but a poor deal if it forces you to buy a new charger and two packs.
| Purchase type | Upfront cost pattern | Usually makes sense when | Common trap |
|---|---|---|---|
| Corded tool | Tool plus extension cord or dust equipment | You work near power and use it for long sessions | Ignoring outdoor power limits or cord management |
| Bare cordless tool | Low tool price, but battery and charger may be extra | You already own the battery platform | Comparing it with a complete kit price |
| Cordless kit | Higher initial price, often includes batteries and charger | You are entering a platform or need spare batteries | Paying for weak batteries or unwanted tools |
| Used professional tool | Lower purchase price, possible repair reserve | The model is common and parts are available | Buying a worn battery or damaged gearbox |
Track Accessories and Consumables
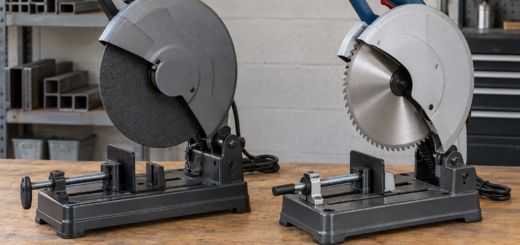
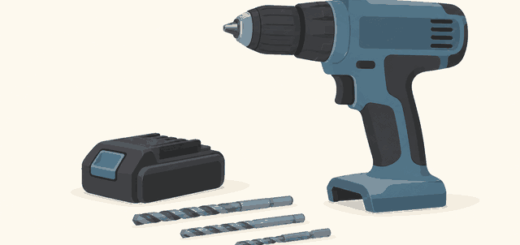
Accessories should have their own columns, not be buried in notes. For a drill, list the bit set, hole saws, driver bits, and extra battery. For a circular saw, list blade type, blade diameter, guide rail requirements, and dust collection parts. For an oscillating tool, record the price of replacement blades because these can cost more than expected.
Separate one-time accessories from recurring consumables. A charger is a one-time cost. Sandpaper, jigsaw blades, grinding wheels, and finish nails are recurring costs. Add an “annual consumables” estimate based on your actual projects. Even a modest $8 blade every two months adds $48 per year.
When you need a basic category rather than a particular model, compare current options through an Amazon cordless drill-driver kit search. Record the exact kit contents and price in your spreadsheet; marketplace listings and bundles change frequently.
Add Repair and Failure Costs
Most tool spreadsheets overvalue the cheapest purchase because they omit failure. Add columns for likely failure points: battery replacement, switch, trigger, chuck, brushes, bearings, blade guard, charger, and cord. You do not need a perfect forecast. A rough repair reserve is more useful than a false sense of precision.
For a $120 tool expected to last five years, you might budget $15 per year for repairs and parts. For a cordless tool with a $70 battery that may need replacement after three to five years, include $14 to $23 per year for the battery alone. If a repair requires shipping or paid labor, add those costs too.
Record whether parts are available. A common tool with an exploded parts diagram and replacement switches is easier to keep running than an obscure bargain tool with no service information. A failed $20 switch is tolerable. A proprietary battery that costs 75 percent of a new tool is a different value calculation.
Use this estimate:
Five-year ownership cost = ready-to-work cost + five years of repairs and consumables − realistic resale value
Do not subtract an optimistic resale value. Use $0 for a heavily used budget tool unless you have evidence that similar examples sell reliably.
Compare Value, Not Just Price
Add a “cost per use” column when you can estimate usage. A $250 saw used 100 times costs $2.50 per use before consumables. A $110 saw used ten times costs $11 per use. The cheaper purchase is fine when both tools meet the job requirements, but the more expensive option can be better value when it saves time or avoids replacement.
Also record performance differences that affect the job: cutting depth, speed control, battery runtime, weight, noise, dust collection, and warranty. Give each a simple score from one to five, but keep the raw facts beside the score. A five-pound difference matters when drilling overhead; it may not matter for ten minutes of work in a garage.
For battery-platform comparisons, count the value of batteries separately. If a kit includes two 5.0 Ah packs and you would otherwise buy them for $120, do not compare the kit’s entire price against a bare tool without making that adjustment.
Use Seasonal Price History
Enter the price you see today, the lowest recent price, and the date checked. Check prices around major holiday sales, spring outdoor-project season, Father’s Day promotions, and end-of-year clearance. Tools often receive discounts as kits rather than as individual machines.
A sale is not automatically a bargain. Set a target price before shopping, such as 15 percent below the normal price or a maximum ready-to-work cost. Include shipping and accessories when judging whether the discount is real. A tool discounted by $30 but requiring a $60 battery is not a $30 saving.
For outdoor cutting and trimming equipment, a cordless outdoor power tool kit search can reveal bundle pricing, but compare battery capacity and included tools rather than counting every extra tool as full value.
Make the Buying Decision
At the top of the sheet, create three summary fields: ready-to-work cost, five-year ownership cost, and cost per use. Add a notes field for deal breakers, such as an unavailable battery, poor dust control, a short return period, or a repair price above half the replacement cost.
Choose the cheapest option that clears your job requirements and has acceptable repair support. Spend more when the upgrade solves a specific problem: longer runtime, safer guarding, stronger dust collection, better balance, or access to replacement parts. If it does not improve the work or reduce ownership cost, the spreadsheet should make that extra spending easy to reject.